28 December 2016

When good organs go bad

What happens when you combine dogabetes and IBD? Pancreatitis! While the exact cause is not known, diabetes can bring it about. And just for funsies, a previous bouts is a possible indicator of future bouts. Since Zero can't exactly say, "My tummy hurts, I don't wanna go to school today," we discovered the problem the same way anything else is discovered with a dog - through a sudden change in behavior.

Normally Zero eats everything and anything you put in front of him. If it's feeding time at the O.K. Corral, he's front and center waiting by the trough. Except suddenly he wasn't. He was barely moving, just lying in bed. We coaxed him over for food, even brought food to him, but he was completely uninterested. Zero being uninterested in food means time for everyone's favorite thing - the vet!

Zero walked slowly down the stairs and tried to sit by the door, but it was obvious sitting was painful. I wasn't sure if picking him up would make things worse, so we ended up letting him walk to the car.

After an extensive medical history and some X-rays, the vet confirmed that Zero had pancreatitis. He had a minor case a few months before the dogabetes diagnosis, which required an overnight hospitalization, but he quickly recovered. This time wasn't so easy.

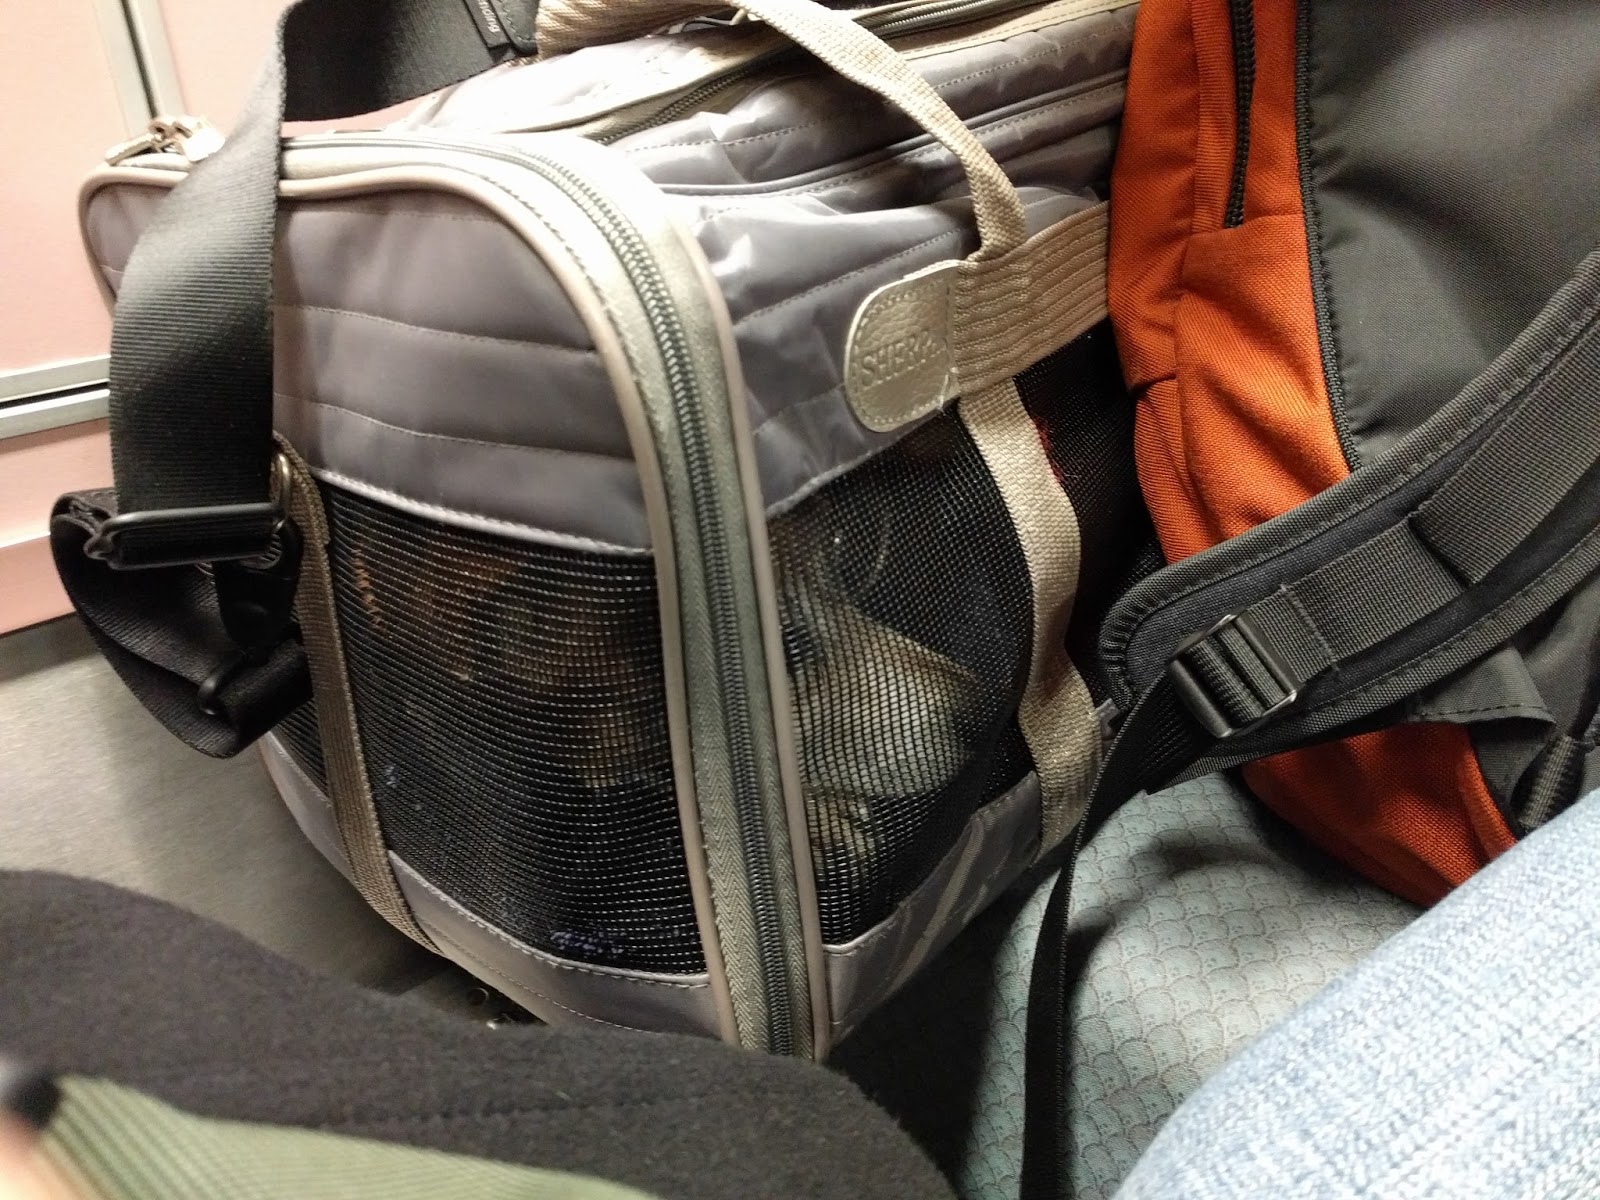
Reese was not a fan of leaving Zero behind at the vet. We visited him every day, and every day Reese would stop at the top of the stairs to wait for Zero.
Where's Zero? We can't leave without him!
At home, she went on a hunger strike, refusing to eat much of anything as long as her brother was missing.

Meanwhile, Zero wasn't getting any better. There isn't any miracle cure for pancreatitis. IV fluids, monitoring, and waiting are the basic protocol. Unless the patient refuses to eat for a few days, in which he gets a feeding tube up his nose, down his throat, and into his stomach. In case that's not bad enough, a couple of stitches hold the tube in place on his snout.
Let me out of this cage!

Now that I'm out, let's go home.

About five days in, Zero finally started to turn around. He became more active and even began eating on his own. Much to his delight, the feeding tube came out. One more night, and we were finally able to bring him back home. It took a few more days of rest at home, but he did recover.
Much better.

20 December 2016

Batshit crazy

This happened nearly two years ago. For whatever reason (laziness), I never finished this post. On with the story!

Matt was in the front yard with the dogs when he heard a horrible screeching sound. Of course Reese located the source first, and proceeded to closely sniff the offender. At first, Matt thought it was an injured bird, but closer inspection revealed that it was a bat. A BAT. In the middle of the day. Not good.
Not a bird.
I called animal control, and they sent someone out to investigate. In the meantime, we were supposed to trap, assuming we could do so safely. The bat hopped to the side of our house, screeching all the way. We cornered it into a box, then wedged in a furniture dolly. Just in case the tiny bat grew super strength to move the box, we didn't want a super strong crazy bat chasing us.
Note: I do not recommend wedging things against the gas meter. In retrospect, not our smartest decision.

After merely half an eternity, Mr. Animal Control arrived with his official grabby tool. He informed us that if he had to take the bat with him, it would be euthanized and checked for rabies. In all of Los Angeles County, only around 40 rabid bats are found each year, so odds were against our bat being infected. It would be best for everyone, especially the bat, if it just flew off.

He carefully used the grabby tool to put the bat on a ledge, hoping it would fly off. It just laid there, occasionally hopping or screeching. Mr. Animal Control admitted this was not a good sign, especially with it still being daylight out.
*poke poke* You can fly away now.
Or not, apparently.
It did the same thing when put on the ground. Well, Mr. Bat had his chance. Conveniently, we had a plethora of boxes lying around, so Mr. Animal Control used one to take the bat away in.

Good-bye! Never come back!
Now that the bat was safely in a box, Mr. Animal Control started asking questions about the dogs. "How close did they get?" "Is there any chance one got bit?" Apparently bat fangs are so sharp and tiny that not even humans always notice when they get bit. Finding a bat bite on a dog is like finding a needle in a haystack. In other words, time for booster shots!

As soon as he left, we took the dogs over to the vet. They were both current on their rabies shots, but standard procedure is to give them booster vaccines on day 0 and day 30, just in case. Unfortunately, standard procedure also involves notifying the county about a possible rabies case. Boo.

The county put both Reese and Zero under a thirty day quarantine, even though only Reese was ever actually within chomping distance of the bat. We had to send in official copies of both dogs' pre-existing and booster rabies certificates. Without proof of prior vaccines, the quarantine would be 180 days. The only good part was that we could do quarantine at our house, as opposed to some horrible county facility. Yay for small miracles?

If we got lucky and the bat tested negative for rabies, the quarantine would be lifted immediately. Of course, that did not happen. About a week later I got a phone call saying that the bat tested positively. Only 40 cases a year, and one had to literally land in our front yard.

Everyone managed to survive being cooped up in the house. We received an official letter from the county saying that the dogs were free to roam the streets again. Reese and Zero got their second round of boosters. Apparently their bat encounter was big news at the vet. Every time we went back, someone would ask us if these were the bat dogs.

01 December 2016

Zero's grand Thanksgiving adventure!

Due to Reese's surgery, Zero came with us to the east coast for Thanksgiving. We save our quadrillions of miles/points/generic-flight-units for Thanksgiving upgrades (and international travel), since it's the worst time of year to fly. As such, poor Zero was forced to experience business class from under the seat in front of him.

Not so luxurious down here. :-(
To add insult to injury, the passenger to our left had a fluffy golden retriever service dog with a big bag of treats. Not only was Zero stuck in the bag, he had to watch the other dog scarf down delicious nom noms. The last straw was when the service dog put the treat mere inches from Zero and ate it practically under his nose. Zero clearly had enough. "GROWL! GRRR GRRR! CHOMP!" That sufficiently enticed the service dog to eat in the aisle.

Zero was super excited to join us for Thanksgiving dinner at Grandma and Grandpa's house. Due to his incredibly strict diet, Zero was only allowed a few iotas of turkey, but he was happy enough to eat his normal food. After dinner, he was the only one still interested in more food.
Matt was only temporarily dead. He's since been reanimated.

On Saturday, we headed into New York for a night of glitz and glamour. Zero took his first train ride!
Choo choo!
He wasn't exactly a fan of all the rocking back and forth, but, contrary to what he says, he did survive.

We checked into our room at the Ritz-Carlton Battery Park and took Zero for his evening constitutional through the park. Afterwards, he made himself comfortable for the evening.
The sneaky ear up means he's actually awake and ready for further excitement.
He chilled in his nest while we met a friend for drinks at the hotel bar.

The next morning, after his breakfast and walk, we moved his nest into the bathroom. Just in case something went wrong with his insides, we wanted it to be more easily cleanable.

Matt and I braved the high seas freezing cold harbor to visit the Statue of Liberty and Ellis Island like proper tourists. We'd both been there before, though not for years.
Matt's the one in green.

When we returned to the hotel, Zero had a nasty surprise in store for us. Apparently something freaked him out, enticing him to chew his way out of the bathroom.
The pile on the right is only some of the wood shavings he created.
Zero's been left alone in plenty of hotel rooms before. He didn't touch a thing in the Extended Stay, but ate the finishings in the freaking Ritz-Carlton. Clearly he has expensive taste.

Matt punted him out of the seventh floor window. I laughed, yelled, and eventually called the front desk to request that a manager come up.

After a very long twenty minutes that was supposed to be spent driving to the airport, the loss prevention manager arrived. He surveyed the damage and determined that it was merely the molding, not the actual door. He also kept mentioning how we're super awesome for actually telling them about the damage instead of trying to hide it behind a pile of towels. I took both of these as good signs.

Despite his behavior, we did take Zero back home. He even was still allowed another go in business class. Hopefully he enjoyed it, as it is certain to be his last. 

As of today, Thursday, we haven't heard anything about how much the door destruction recompense will be. I'm still optimistic that it will be covered by the standard pet fee.

22 November 2016

DIY: River Song's TARDIS journal

At the suggestion of some friends, I've decided to start posting some of my DIY projects here. The first is River Song's TARDIS journal.

The journal, as left for River by the Tenth Doctor.
I made mine a photo album, in which to store signed cast photos from Gallifrey One. You can substitute a normal journal/notebook if that's more to your liking. Once I figured out what I was doing, it was actually pretty simple. If the instructions look complicated, that's only because I wrote them in excruciating detail.

Supplies

  • photo album (or whatever album/notebook you are covering)
  • dark blue leather (thinner is better)
  • contact adhesive
  • glue brush
  • glue stick
  • paper cutter
  • photo mat
  • TARDIS template (I used the one posted here by Nerdfighteria@UCSD)
  • Q-tips
  • inside cover lining paper (thicker is better)
  • pencil
  • metal ruler
  • disposable gloves
  • dark permanent marker (specific color doesn't matter)
  • super glue

Step 1 - Preparing the template

Print out the the TARDIS template at an appropriate scale for the photo album. For mine, I got lucky and the "Scale to fit" option sized the template perfectly.

Glue the pattern onto the paper mat using the glue stick. You don't want it stuck on particularly well, just long enough to cut out the pieces.

Step 2 - Cutting out the template

Using the paper cutter, cut out the pieces of the template. Label all the keep pieces before you start cutting. Ignore the curved corners unless you want to drive yourself crazy.

Cutting out the template pieces. And feet.
It is much easier to just cut through the keep pieces along the fancy pink lines shown here.

My Photoshop skills are totally 133t h4xx0r.
Once they are glued onto the album and covered with leather, no one will know. Well, you'll still know. But no one else will if you don't tell them.

Arrange all of the pieces according to the template to make sure everything fits together nicely.

The cut out template pieces. I messed up a few times, hence the random lines through some pieces.

Step 3 - Preparing the cover

Using pencil, mark the center of the front cover. Draw vertical and horizontal lines through the center. Place one of the vertical keep pieces centered along the vertical line. Mark the top and bottom, and draw horizontal lines there. Finally, find the center between the first horizontal lines and the top and bottom horizontal lines. Draw horizontal lines there.

The first few pencil lines.
I realized it was annoying to draw lines with the cover at a funny angle, so I shoved a book of appropriate height between the covers. It may have been Matt's new book that he happened to have left on the coffee table.

Step 4 - Attaching the template pieces

Remove all of the glued on pattern pieces from the keep pieces. You don't want a weak glue stick bond in between the leather and the mat.

Don your haute couture disposable gloves. Using the glue brush (not your finger - just trust me on this), apply contact adhesive to the back of the center vertical piece and along the center vertical line on the cover. Wait about 45-60 seconds for both pieces to become tacky and carefully put the vertical piece in place. Press down for a good bond. You can safely ignore any adhesive that oozes out the sides, just use less adhesive for the remaining pieces.

The first vertical piece and a book to keep the cover flat. Note the increasing number of empty cider bottles.
Repeat the gluing processes for the two vertical pieces that go on either side of the center piece, being sure the leave a small gap approximately the size of the one in the pattern.

Two more vertical pieces. I use empty toilet paper tubes as disposable brush supports.
The eight small horizontal pieces come next. All should directly abut the vertical pieces. The top and bottom pieces should form a continuous line with the top and bottom edges of the vertical pieces. The middle pieces merely need to be centered over the horizontal pencil lines.

The eight horizontal pieces.
Glue on the next pair of vertical pieces, making sure they abut all of the horizontal pieces. If there is a tiny gap, it's not a problem since the leather will cover it.

Add the final vertical pieces, leaving a gap approximately the same size as the ones between the first three vertical pieces.

Glue on the top and bottom horizontal pieces. Use the same amount of gap as used elsewhere.
All pieces but the squares.
Finally, the eight squares need to be mounted in the center of the square holes.
All the template pieces glued on.
Whew! All the template pieces should be attached at this point. Celebrate with a well-earned pint of beer. Assuming you don't chug like a heathen, this will provide enough drying time.

Step 5 - Attaching the leather

Cut a piece of leather big enough to cover the entire album, both front and back, with at least a few inches of margin on all sides. Remember, margin is your friend.

Place the leather nappy side up with the album on the right half. Apply contact adhesive to the left side of the leather in the area that will be the front cover. While that dries to a tacky finish, apply adhesive to the entire front cover of the album. Make sure to get the glue in all the little nooks and crannies. Don't get glue on the curved spine area of album or on the corresponding leather.

Glue on the leather and front cover.
Carefully cover the front of the album with the leather, starting from the spine and working towards the edge. Press as you go. Ideally, the glue area on the leather will correspond well with the glue area on the front cover. Working quickly, use Q-tips to press the leather into the details on the cover.

Pressing the leather into the gaps between the template pieces.
Flip everything over, and repeat the process on the back cover. Since there needs to be room for the spine to open, make sure you glue and smooth out the leather while the album is closed. Don't put any glue on the spine. There will be some give when the album lies open.

Lie the album flat open. Trace a 1 1/4" inch border around the entire album. Conveniently, this is approximately the width of a ruler, so you can just place the ruler flat against the album edge and trace it.

Tracing the ruler around the edges.
Cut along the border to remove the excess. Use it make a hat for your pet that's been staring at you the entire time. Check the size of the remaining margin by folding over the top and bottom. If the part over the spine hits the binder rings, remove more leather until it doesn't.

The leather cut to size.
Cover a two inch square with glue at all four corners.

Glue in a corner.
Once tacky, fold the leather in each corner into a triangle and press down so it stays in position.

Triangle of leather.
Along the right and left edge, cover an elongated hexagon with glue.

Side glue.
Fold the leather side over onto the plastic album cover and press down. The double thick parts will require extra pressing down.


The top and bottom should have similar hexagon shapes, except with a gap over the spine. The gap is necessary to provide room to open and close.

Glue along the bottom edge.
Fold the leather onto the album cover just like on the other sides.

Step 6 - Attaching the lining paper

Measure the inside dimensions of the cover. Include the leather, but none of the spine. Subtract an inch from both dimensions, and cut two pieces of the lining paper to that size.

Cutting the lining paper.

Use super glue to firmly attach the paper to the center of each inside cover.

Super glue on the back of the lining paper.
Depending on the leather thickness, it may not perfectly attach where there are multiple layers of leather.

Lining paper glued in place.
To create a real book-like feel, cut two pieces of lining paper to the maximum size that fits in each photo sleeve. Put one in the very front and one in the very back.

Photo sleeve inside covers.
Put the rest of the album pages in the middle.

I could be a hand model.
Let everything dry for at least a few hours.

Finished album

Ta da!
Fill with photos, journal entries, or whatever you want.

24 March 2016

Solving the drought one dog at a time

While Matt and I were recently dying, Zero decided to further diminish Southern California's dwindling water supply by drinking all of it. Due to our lack of situational awareness, we didn't realize the severity of the situation until Zero woke us up by peeing on the rug two mornings in a row. Then we started noticing the hidden puddles of pee all over the house. Clearly something was wrong with the dog and not just us.

We dragged ourselves, a very excited Reese, and a wary Zero to the vet for a visit with Zero's internal medicine doctor. Based on his symptoms of drinking and peeing twenty-seven gallons per day, she had a diagnosis in mind, which she confirmed with blood tests. His blood glucose level was 527. Like humans, dogs are supposed to have levels in the low 100s. Uhhh, fuck.

Zero officially has type 1 diabetes, also known as "dogabetes." It was most likely caused by years of taking steroids for his IBD (irritable bowel disease). Unfortunately, he needs to take his current steroids as only they successfully control his IBD.

Just for fun, he now gets twice daily insulin injections, one after each meal. Getting his dose of insulin straightened out required glucose curves and more visits to the vet than we were physically capable of at the time. He started out at four units, then it was increased to six, then again to eight. Zero seemed stable at eight, but then his urine tested positive for ketones, which are a precursor to DKA (diabetic ketoacidosis).

The vet lowered Zero's insulin dose to seven units. Guess who started drinking and peeing constantly? Hint, it wasn't Matt. The vet raised his dose, somewhat reluctantly, to 7.5 units, and he seems to have finally stabilized.

Sadly, it is very common for dogs with type 1 diabetes to develop cataracts within about six months of diagnosis. They usually require surgery to restore the dog's vision. Zero's eyes are already starting to look a bit cloudy, but we'll cross that bridge when we come to it.

19 March 2016

The Hidden Danger of Disneyland

In early December (yes, I'm well aware that it's now the end of March), Matt thought it would be fun to get food poisoning the night before a scavenger hunt at Disneyland. I ended up going with our only other teammate, so we had to make due with second place. Matt's map reading skills would have assured us first.

A few days later, I suddenly got very sick, complete with explosions out both ends. Because Matt was still weak from his bout of food poisoning, he caught whatever delightful bug that I presumably brought home from Disneyland. For about two weeks, we laid on the couch occasionally ordering delivery food when one of us could muster the energy to use the computer. It got to the point where we admitted we had to cancel our trip to Las Vegas.

Since we weren't going on our trip, we decided that we were damn well going to the doctor that day. Being a Sunday, the only places open were various Doc-in-a-Box™ clinics. Matt selected the nearest and least skeevy one, and off we went for proper medical advice. The clinician we saw, who shall henceforth be known as Dr. Idiot, did not give me any antibiotics because he was worried they would further disrupt my already impaired digestive tract. Dr. Idiot gave Matt cough medicine with codeine and prednisone and no antibiotics either because reasons. He also suggested that Matt stop coughing. Shockingly, neither of us got any better. In fact, we got worse.

A few days later, Matt was coughing so badly he literally couldn't drive. After Matt pulled over, I called our real doctor, Dr. Internist, from the car. He had some choice words with which to describe Dr. Idiot. He also had a proper prescription pad and order forms for chest X-rays. He determined that, from lack of proper intervention, our weakened immune systems had allowed us to both develop secondary bacterial infections. I was "lucky" to only have bronchitis, whereas Matt had full-blown pneumonia. Dr. Internist gave us proper medication, which thankfully kept Matt out of the emergency room. After a few more days, we finally started feeling better.

Then I started to go crazy. Literally.

As it turns out, methylprednisolone has a possible side effect of mood and behavior changes, especially when combined with an SSRI. Let's just say things did not go well, and Matt ended up calling both Dr. Psychiatrist and Dr. Internist. For future reference, I will not be taking that medicine ever again. Dr. Internist switched me to a different medicine with less crazy involved. A few weeks later, I was finally better. Oh yeah, Matt recovered too, though he had a lingering cough for nearly a month afterwards.